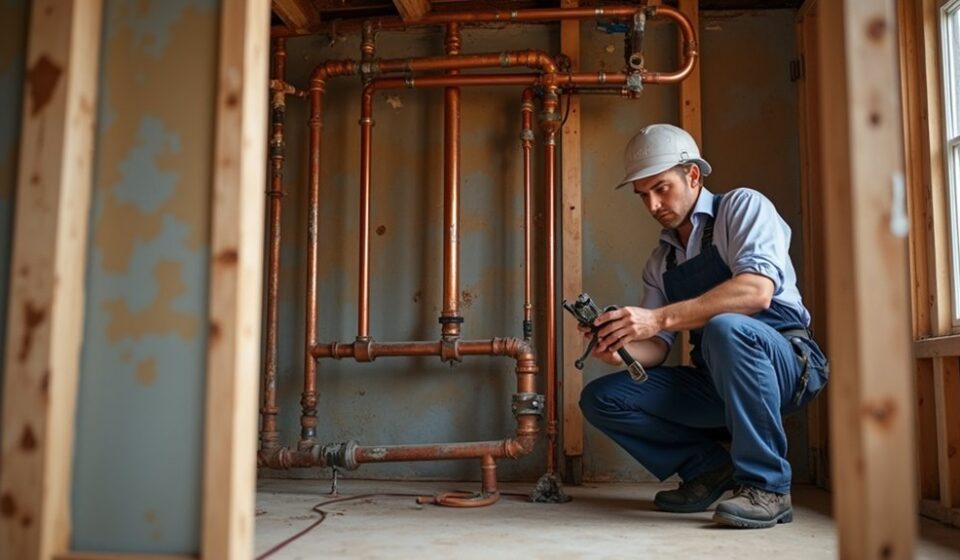

Your renovation’s shine means little if aging pipes remain hidden behind the walls. Start by inspecting every accessible pipe, drain, fixture, and connection for corrosion, leaks, poor materials, or outdated sizing. Then choose code-compliant replacements, set a realistic budget, coordinate the work with other trades, and secure required permits. You’ll also need to plan efficient fixtures and test the system before closing the walls—but the most important decision comes first: identifying what truly needs replacement.
Key Takeaways
- Inspect pipes, drains, fixtures, and connections for corrosion, leaks, blockages, restricted flow, and outdated or unsafe materials.
- Plan replacement routes, measure connections, select compatible materials, and budget for labor, permits, fixtures, and unexpected damage.
- Coordinate plumbing installation with demolition, framing, electrical, and HVAC work before insulation, drywall, or other wall finishes.
- Upgrade to durable, code-compliant materials and water-efficient fixtures, including PEX, copper, PVC, WaterSense faucets, and high-efficiency toilets.
- Secure required permits, hire qualified plumbers, pressure-test systems, schedule inspections, and document concealed pipe locations before closing walls.
Identify Plumbing That Needs Replacement
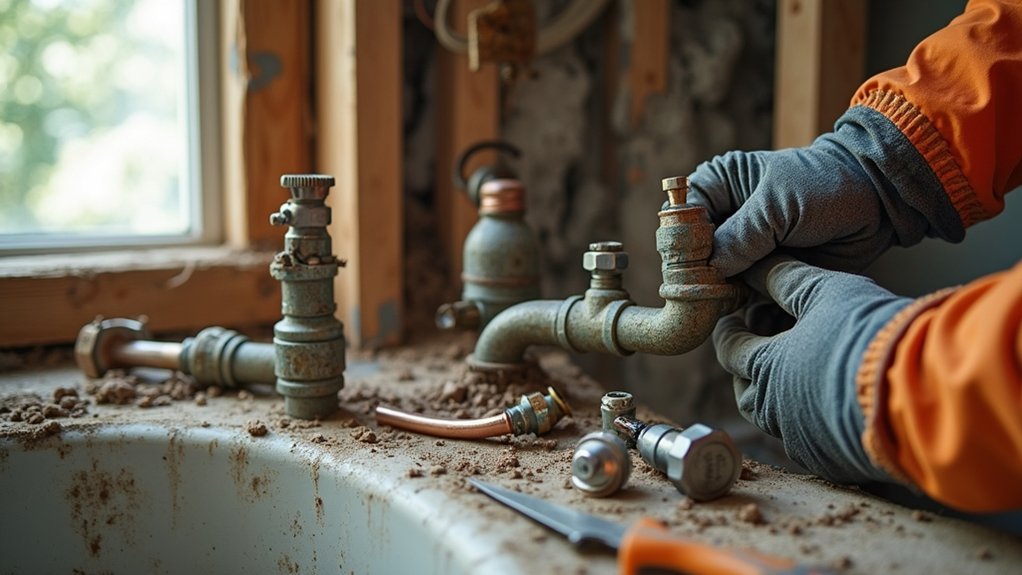
Start by inspecting every accessible pipe, fitting, and drain line before demolition begins. Look for materials that have exceeded their service life, including galvanized steel, polybutylene, brittle cast iron, and damaged plastic. Note discoloration, scaling, pitting, swelling, cracks, and mineral deposits.
Pipe corrosion often weakens walls from the inside, so don’t rely on appearance alone. Use leak detection methods, such as pressure testing, moisture meters, or thermal imaging, to locate concealed failures before walls close.
Replace sections showing active leaks, repeated repairs, restricted flow, or unsafe materials rather than patching them temporarily. Check pipe sizing against planned fixtures and appliances; undersized lines can cause poor pressure.
Document each problem, mark its location, and obtain a plumber’s assessment for buried, inaccessible, or code-sensitive piping before you finalize your renovation scope.
Inspect Pipes, Drains, Fixtures, and Connections
Inspect pipes and drains for corrosion, leaks, blockages, low pressure, and slow flow.
Examine fixtures and connections for worn seals, rust, movement, and signs of water damage.
Document each problem so you can replace failing components before closing the walls.
Check Pipes And Drains
Before opening walls or replacing fixtures, examine every accessible pipe, drain, connection, and fitting for corrosion, leaks, mineral buildup, cracks, or improper slope.
Run each drain and watch for slow flow, gurgling, backups, or standing water, which can indicate blockages or inadequate venting.
Check exposed supply lines for discoloration, swelling, pinhole leaks, and outdated materials such as galvanized steel, polybutylene, or brittle plastic.
Test water pressure at multiple points and note temperature changes that suggest restricted flow.
Inspect crawlspaces, basements, and cabinets with a flashlight, using a moisture meter where staining appears.
Schedule professional drain cleaning before renovation if buildup limits inspection.
Replace damaged sections, correct poor slopes, and add pipe insulation where freezing or condensation threatens performance.
Document locations, materials, and findings before demolition begins.
Examine Fixtures And Connections
With pipe and drain conditions documented, examine each fixture and its connections for signs of failure or poor installation. Check faucets, toilets, showers, tubs, sinks, and appliances for corrosion, mineral buildup, cracks, wobbling, slow operation, or recurring leaks.
Test shutoff valves; they should turn smoothly and stop water completely. Inspect supply lines, traps, escutcheons, flanges, and fixture connections for rust, damaged threads, loose fittings, or improper sealant.
Look beneath cabinets and around toilet bases for staining, swelling, mold, or soft flooring, which can indicate concealed water damage. Confirm that plumbing fixtures sit level, drain properly, and match current water-efficiency standards.
Replace brittle hoses, outdated valves, and questionable connectors during renovation rather than waiting for failure. Document defects and discuss code-compliant replacements with your plumber before closing walls.
Choose Modern Plumbing Materials

Choose modern plumbing materials that match your home’s water quality, pressure, climate, and local code requirements. Use PEX for flexible, freeze-resistant supply lines, but confirm its compatibility with your water chemistry.
Copper offers proven durability and natural antimicrobial properties, while CPVC can suit certain hot- and cold-water applications.
For drain, waste, and vent systems, PVC or ABS provides corrosion resistance and straightforward installation; follow local requirements before selecting either.
Choose stainless steel or certified brass for exposed components where strength and longevity matter.
Consider Eco friendly options, such as recyclable metals, lead-free fittings, and materials with lower manufacturing impacts.
Account for aesthetic considerations when pipes or fittings remain visible, coordinating finishes with your fixtures.
Have your plumber verify certifications, connection methods, and manufacturer limits before installation.
Plan Your Plumbing Replacement Budget
Set a realistic replacement budget by estimating material costs for pipes, fittings, valves, and fixtures.
You’ll also need to budget for labor, including demolition, installation, permits, and inspections.
Add a contingency reserve for hidden damage or code-related upgrades.
Estimate Material Costs
Start by listing every pipe, fitting, valve, connector, and fixture you’ll replace, then price each item using current supplier or retailer rates. Include pipe diameter, length, connection type, and fixture specifications so your estimate matches the design.
Account for adapter fittings, shutoff valves, escutcheons, mounting hardware, access panels, sealants, primer, cement, thread tape, and insulation. Compare supplier options, including local plumbing counters, home-improvement retailers, and online distributors, but verify product compatibility and return policies.
Evaluate material durability rather than choosing solely by the lowest price; corrosion resistance, temperature ratings, and manufacturer warranties affect long-term value.
Add 10 to 15 percent for cutting waste, damaged parts, and price changes. Record each item, quantity, unit price, and extended cost in a spreadsheet, then total materials before finalizing your renovation budget.
Budget for Labor
Once you’ve priced the materials, estimate labor by listing each plumbing task, such as demolition, pipe installation, fixture replacement, testing, and finish repairs. Ask licensed plumbers for itemized quotes that separate hourly rates, crew size, permits, travel, and likely overtime. Confirm whether the estimate covers wall access, disposal, inspections, and cleanup. Build a 10–20% contingency for concealed damage or code-required changes.
- Compare at least three bids, but don’t choose solely on price. Verify licensing, insurance, references, and renovation experience during contractor selection.
- Request a written schedule tied to milestones, so delays won’t create additional costs for other trades.
- Discuss cost saving strategies, including bundled work, accessible plumbing routes, and reusing sound shutoff valves.
Keep labor funds separate from materials, and approve change orders before work begins. This approach protects your budget and preserves accountability.
Coordinate Plumbing With Renovation Work
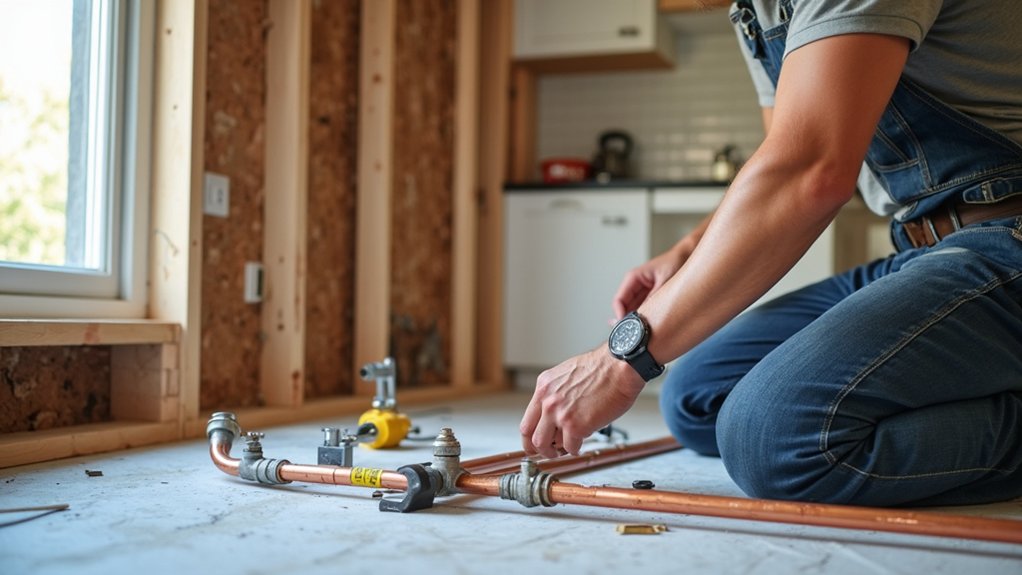
Coordinate the plumbing schedule with demolition, framing, electrical, and finish work so each trade can access the areas it needs without rework. Before walls close, have your plumber install and secure supply lines, drainpipes, shutoff valves, and required supports.
Coordinate pipe routes with electricians and HVAC installers to prevent conflicts and preserve service access.
Schedule inspections and pressure tests before insulation or drywall covers the work. Verify water pressure at the farthest fixtures, check pipe slopes, and use leak detection methods to identify concealed problems early. Photograph pipe locations and record valve positions for future repairs.
After testing, protect exposed connections from impact and debris. Confirm that flooring, cabinets, and wall finishes won’t block cleanouts or access panels.
Build reasonable time between trades, because unexpected discoveries can delay every downstream task.
Upgrade Fixtures for Efficiency and Comfort
With the plumbing tested and accessible, choose fixtures that reduce water use while improving daily comfort. Compare fixture styles with your room’s layout, maintenance needs, and user preferences. Select durable finishes, easy-clean surfaces, and controls that remain comfortable to operate.
- Install WaterSense-labeled faucets and showerheads to limit water flow without sacrificing useful pressure. Aerators can improve performance while reducing waste.
- Choose a dual-flush toilet or a high-efficiency model sized for your household. Confirm the bowl height and flush controls suit everyone.
- Add comfort features where they provide value: pull-down kitchen sprayers, thermostatic shower valves, handheld heads, or touchless faucets.
Measure connections before ordering, and verify supply lines, drain alignment, and clearances. Replace worn shutoff valves during installation, then test every fixture for leaks, temperature control, drainage, and smooth operation.
Meet Plumbing Codes and Permit Requirements
Before work begins, check your local plumbing code and permit requirements because relocating supply lines, drains, vents, gas connections, or fixtures may require approval.
Contact your building department to confirm which local building codes apply to your renovation, including pipe sizing, materials, cleanouts, shutoff valves, venting, access, and protection against freezing or contamination.
Complete the permit application with accurate plans, fixture locations, pipe routes, and contractor information. Don’t rely on assumptions; requirements can vary by municipality and project scope.
Ask whether you need separate permits for plumbing, electrical, structural, or gas work.
Schedule required inspections at the stages your jurisdiction specifies, and keep approved plans, receipts, and inspection records.
If you hire a plumber, verify licensing and confirm who’ll pull permits and coordinate with inspectors.
Test New Plumbing Before Closing the Walls
After permits and rough-in requirements are confirmed, test every new water, drain, vent, and gas connection before closing the walls. Follow these Testing procedures:
- Pressurize supply lines with clean water, then monitor Water pressure with a gauge for the period required by local code. Inspect every joint, valve, and fixture connection for seepage or pressure loss.
- Fill and drain each fixture repeatedly. Check traps, cleanouts, and drain connections for leaks, slow flow, or backups. Run water through multiple fixtures to expose venting problems.
- Have a qualified professional test gas piping with approved equipment, verify shutoff access, and confirm combustion appliances vent safely.
Record test results and photograph concealed connections. Repair failures, retest affected sections, and obtain required inspections before insulation, drywall, or flooring covers your work. Never rely on visual checks alone.
Frequently Asked Questions
How Long Does a Complete Plumbing Replacement Typically Take?
You’ll typically need one to two weeks for a complete plumbing replacement. Your timeline depends on home size, access, permits, pipe materials, and water pressure testing, plus unforeseen damage discovered behind walls or floors.
Can I Remain in My Home During Plumbing Replacement?
You can remain home during replacement, but expect dust, noise, water shutoffs, and limited access—hardly a knight’s castle. Arrange temporary living arrangements if bathrooms become unusable, and verify insurance coverage for damage, delays, and relocation expenses.
How Should I Prepare My Home Before Plumbers Arrive?
Before plumbers arrive, clear work areas, protect furniture, locate shutoffs, and secure pets. Confirm Material selection, discuss access and schedules, remove valuables, and review Tool safety expectations, permits, cleanup, and water-service interruptions.
What Warning Signs Indicate Newly Installed Plumbing Needs Immediate Attention?
Watch for leaks, damp walls, sewage odors, discolored water, banging pipes, or sudden water-pressure changes. Don’t ignore pipe corrosion, persistent drips, or unusual noises; shut off water and call your plumber immediately to prevent damage.
How Do I Find a Qualified, Reliable Plumbing Contractor?
You’ll find a reliable plumbing contractor by checking licensing, insurance, references, reviews, and written estimates. Confirm experience with plumbing inspection and emergency repairs, verify permits, compare warranties, and choose clear communication over unusually low bids.
Conclusion
Replacing outdated plumbing isn’t merely a renovation task—it’s an investment in your home’s safety, efficiency, and lasting value. Inspect every component, choose durable materials, budget realistically, and coordinate installation before walls close. Don’t skip permits, professional inspections, or pressure testing; small oversights can create costly repairs later. When you plan carefully and verify every connection, you’ll gain reliable water flow, better efficiency, and peace of mind for years to come. Your future self will thank you.