Around 30% of a home’s usable floor area can sit unused in an attic, yet conversion isn’t simply a matter of adding flooring and furniture. You’ll need to confirm structural capacity, secure permissions, plan safe access and escape routes, and meet insulation, ventilation, electrical, and fire-safety standards. Careful budgeting and design also matter. Miss one requirement, and your project could face costly alterations—so start with the checks that determine whether the space is suitable at all.
Key Takeaways
- Assess the loft’s space, headroom, roof structure, access, and intended use with a qualified surveyor or structural engineer.
- Establish a realistic budget, obtain itemized contractor quotations, and allow for professional fees, approvals, and contingencies.
- Confirm planning permission, building regulations, structural calculations, fire safety, insulation, ventilation, and electrical requirements before construction.
- Reinforce the structure, install compliant flooring and stairs, and provide safe escape routes, lighting, and adequate ventilation.
- Install properly specified windows or skylights, preserving roof integrity, weatherproofing, insulation, and required safety glazing.
Check If Your Loft Can Be Converted

Before planning a loft conversion, check whether the space is structurally and legally suitable. Measure the floor area, headroom, roof pitch, and access route, then compare them with local building regulations.
You’ll need adequate standing height, a safe staircase, suitable fire protection, and sufficient structural strength for new loads. Ask a qualified surveyor or structural engineer to inspect the rafters, joists, walls, and foundations; don’t rely on visual checks alone.
Confirm whether planning permission, building control approval, listed-building consent, or party-wall procedures apply to your property.
Check ventilation, insulation, natural lighting, escape routes, and electrical capacity before progressing. Early assessment also reveals opportunities for storage optimization and aesthetic enhancements without compromising compliance, safety, or essential structural requirements.
Obtain written advice and approval records before commissioning detailed design work.
Set a Budget and Choose Your Loft Use
Decide whether you’ll use the loft as a bedroom, office, bathroom, or another defined purpose.
Set a realistic budget covering design, construction, finishes, professional fees, and a contingency.
Check local planning rules, building regulations, and required approvals before committing to the project.
Define Your Loft Purpose
Start by defining how you’ll use the loft—such as a bedroom, office, playroom, or rental space—then set a realistic budget that covers design, structural work, insulation, stairs, services, finishes, professional fees, and a contingency.
Your purpose should guide every decision, from required floor strength and fire separation to daylight, ventilation, heating, and safe access.
Check planning restrictions, building regulations, ceiling-height requirements, escape routes, and any permissions affecting your intended use before committing to a layout.
A bedroom or rental suite may require more privacy, plumbing, and fire protection than an office.
An office may prioritise electrical capacity and sound control, while a playroom needs secure storage solutions and durable finishes.
Reserve aesthetic enhancements, such as roof windows or feature lighting, for later evaluation after compliance and essential function are confirmed.
Establish A Realistic Budget
Set a realistic loft-conversion budget by pricing the intended use, structural work, insulation, stairs, plumbing, electrics, heating, finishes, professional fees, approvals, and contingency.
Your choice of bedroom, office, bathroom, or rental space affects every figure, so confirm the layout before requesting quotations.
Effective Budget planning requires a measured survey, structural assessment, and written specifications rather than rough online averages.
Obtain itemised estimates from qualified contractors, and verify whether building regulations, planning permission, fire protection, insulation values, ventilation, and escape requirements apply.
Include VAT, design changes, waste removal, temporary accommodation, and at least 10–20% for unforeseen work.
Compare like-for-like quotes, check insurance and references, and avoid selecting solely on price.
Review funding and payment stages, then keep a cost schedule to track commitments throughout construction.
Plan Loft Conversion Regulations and Permissions
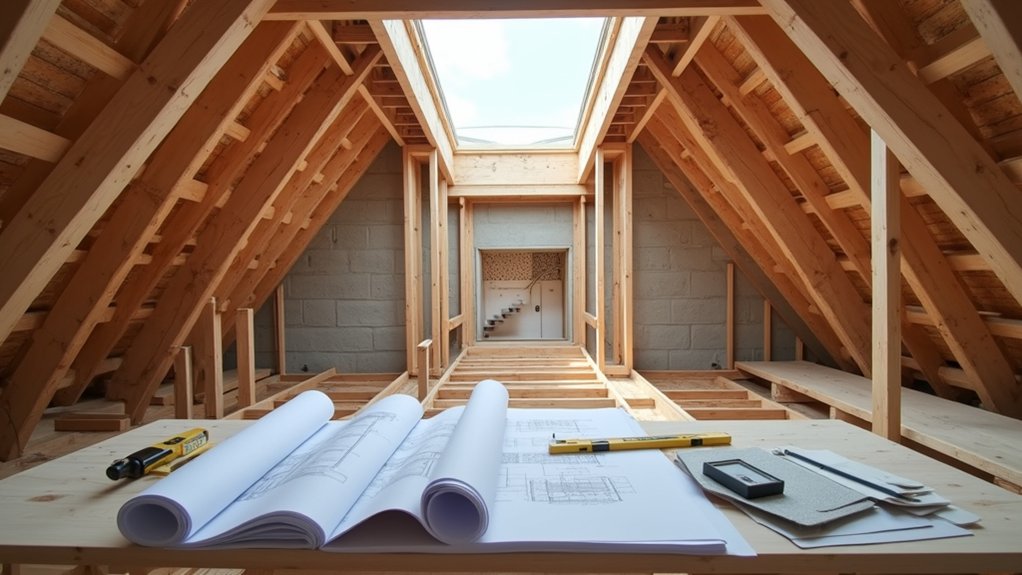
Before you commit to a design, check whether your loft conversion needs planning permission, building regulations approval, or both. Contact your local planning authority and ask for written guidance on permitted development rights, conservation-area controls, listed-building requirements, and local zoning restrictions.
You may need Building permits or a formal planning application, particularly if you’ll alter the roof shape, add dormers, extend beyond the existing plane, or affect neighbours’ privacy.
Separately, building regulations approval confirms compliance with fire safety, escape routes, insulation, ventilation, stairs, and electrical work. Give your designer the authority’s requirements before finalising drawings.
Submit accurate plans, structural calculations where required, and supporting documents through the correct process. Don’t start work until you’ve received every necessary approval, and retain certificates for future sale or refinancing.
Strengthen the Structure and Install the Floor
Once approvals are in place, have a structural engineer confirm whether the existing joists, walls, beams, and roof supports can carry the new loads. Don’t rely on visual inspections alone. Your engineer should calculate imposed loads, identify load bearing walls, and specify any required structural reinforcement, such as steel beams, strengthened joists, or new supports.
Obtain building-control approval for the design before work begins.
Remove unsuitable insulation or flooring carefully, then install approved joists or engineered timber according to the drawings. Use correctly sized hangers, connectors, and fire-resistant fixings, and maintain required bearing at supports.
Fit noggins or blocking where specified to limit movement and twisting. Install services without excessive notching or drilling, protecting structural members from damage.
Finally, lay the specified subfloor, secure it properly, and arrange inspections before covering the work.
Design Safe Loft Access and Escape Routes
With the structure and subfloor approved, plan the loft stair and escape route before closing up surrounding walls or ceilings. Choose a permanent, compliant staircase with adequate width, headroom, pitch, handrails, guarding, and secure landings. Don’t rely on a retractable ladder for a habitable room.
Check local building regulations for stair geometry, fire resistance, smoke alarms, and protected routes to an external exit. Your design should let occupants descend quickly without passing through unnecessary hazards or obstructed spaces.
Provide suitable windows or another approved alternative escape route where required, confirming opening sizes, sill heights, and access for rescue. Keep the route clear, well lit, and easy to identify in darkness.
Document your escape planning, obtain approval, and coordinate door swings and partitions to preserve Loft safety throughout the conversion.
Insulate and Ventilate the Converted Loft
Insulate the loft’s roof, walls, and floor to the required thermal standards, then provide continuous ventilation to control condensation and protect the structure. Use suitable thermal insulation with the specified thickness, maintaining clear airflow paths beneath the roof covering. Don’t compress insulation or block eaves, ridge, or soffit vents.
- Fit a continuous vapour-control layer on the warm side, sealing joints around services and penetrations to limit moist air entering the construction.
- Install proper ventilation through approved vents or a designed mechanical system, sizing openings according to local regulations and roof requirements.
- Check for cold bridges, damp materials, and gaps before closing the structure; correct defects and retain inspection access where required.
Confirm the completed work meets applicable building regulations, fire-safety requirements, and manufacturer instructions. Record insulation products, ventilation provisions, and any compliance certificates for future inspections.
Add Windows, Skylights, and Natural Light
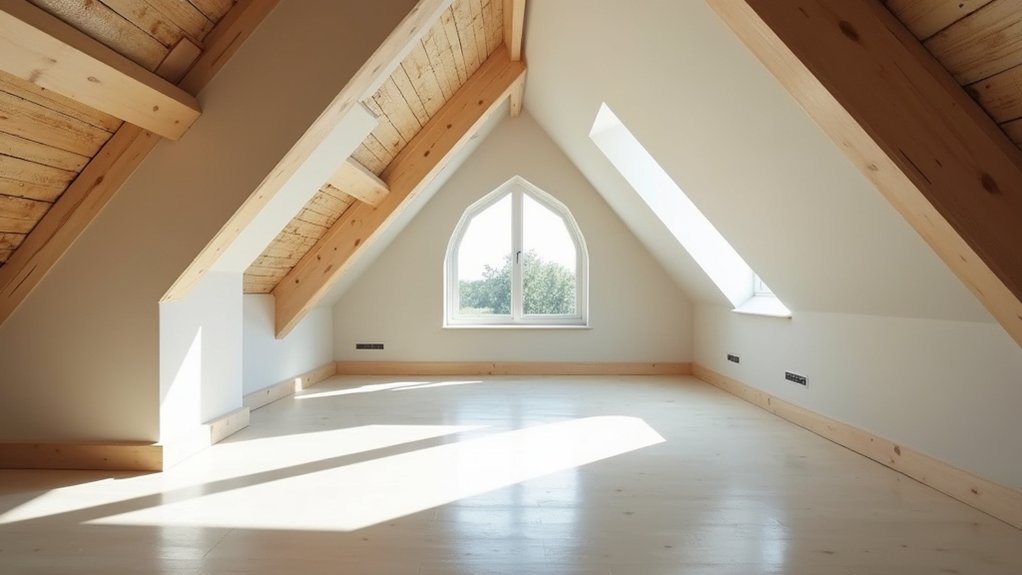
Choose window locations that provide useful daylight without compromising structure, privacy, or required escape routes.
Install skylights only with proper flashing, weatherproofing, and compliance with local building regulations.
Use light-coloured finishes and unobstructed glazing to maximise natural light, but don’t overlook ventilation and thermal performance.
Choose Window Locations
Plan window locations around the room’s function, roof structure, and permitted openings so natural light improves the space without compromising safety or compliance. Treat window placement as a design and approval decision, not a finishing detail. Check your local rules for minimum glazing, escape windows, privacy, fire separation, and conservation restrictions before finalising drawings.
- Match use: Position windows to illuminate work areas, bedrooms, and circulation routes, while avoiding glare and overlooking neighbouring properties.
- Check structure: Identify rafters, trusses, services, and insulation zones. Preserve structural members unless an engineer approves alterations.
- Coordinate compliance: Confirm sill heights, guarding, ventilation, and emergency egress requirements with your building professional or authority.
Use consistent window sizes where practical to simplify framing and improve appearance. Your plan should balance natural illumination, furniture placement, heat gain, and external views. Record each opening on the drawings before construction begins.
Install Skylights Safely
Install skylights only after confirming the roof structure, weatherproofing strategy, and approval requirements. Have a qualified professional inspect rafters, trusses, roof pitch, and load paths before cutting any opening. Your engineer or building-control authority may require structural calculations, safety glazing, escape provisions, and electrical or fire-separation updates.
Select a skylight compatible with the roof material, pitch, and manufacturer’s installation limits. Compare skylight types, including fixed, opening, conservation, and roof-window models, according to ventilation and access requirements—not aesthetics alone.
Follow the manufacturer’s flashing sequence, underlay details, and fixing specifications exactly. Use a suitable curb or replacement rafters where necessary, and never cut structural members without an approved design.
Seal penetrations carefully, preserve insulation continuity, and test for leaks after installation. Arrange final inspection and retain certificates, warranties, and product documentation.
Maximize Natural Light
Once the skylight design is approved, assess the loft’s overall daylighting plan rather than relying on one opening. Add roof windows or dormers where they’ll provide balanced illumination, ventilation, and useful views. Confirm every alteration meets planning permission, building regulations, fire-safety, structural, and energy-efficiency requirements. Use certified installers and obtain completion documentation.
- Position windows to reduce glare and prevent overlooked sightlines. Check escape-window dimensions, sill heights, guarding, and opening controls before installation.
- Specify glazing with suitable U-values, solar-control performance, and safety ratings. Include blinds or decorative window treatments that preserve daylight without compromising emergency access.
- Keep light paths clear through thoughtful furniture layout and indoor plant placement. Choose low-profile storage, pale reflective finishes, and layered lighting for darker periods.
Finally, inspect seals, flashings, drainage, and ventilation. Test operable units, resolve condensation risks, and maintain clear access for future cleaning and repairs.
Install Safe Loft Electrical and Plumbing Systems
Before connecting services, have a qualified electrician and plumber design and install the loft’s systems to current building regulations, using dedicated circuits, proper earthing, accessible isolation points, and correctly sized, insulated pipework.
Prioritise Electrical safety by fitting suitable residual-current devices, fire-rated cables, protected outlets, and adequate lighting. Keep wiring clear of insulation hazards, water lines, and future fixings, and guarantee every circuit remains labelled and accessible for testing.
For plumbing, provide isolation valves near fixtures, secure waste pipes with appropriate falls, and insulate hot and cold supplies against heat loss, freezing, and condensation. Plan access panels where valves, traps, or joints may require attention.
Schedule Plumbing maintenance, including leak checks and pressure testing, before covering pipework. Don’t overload existing circuits or conceal unapproved alterations.
Keep certificates and installation records for compliance.
Finish the Loft and Complete Final Inspections
With the services tested and approved, finish the loft by installing insulation, plasterboard, flooring, doors, skirting, and compliant fire protection in accordance with the approved plans and building regulations. Coordinate each trade so completed work doesn’t conceal defects or obstruct required access.
- Apply the Finishing touches: decorate, seal joints, fit ironmongery, install ventilation grilles, and confirm windows, stairs, and guarding operate safely.
- Check compliance: verify insulation levels, fire doors, escape routes, smoke alarms, electrical certification, plumbing tests, and structural details against the approved specifications.
- Arrange Final inspections with building control and provide certificates, warranties, and as-built information. Don’t remove protective measures or occupy the room until approval is issued.
Record outstanding items, correct them promptly, and retain the completion certificate with your property documents. This evidence protects future saleability and demonstrates that your conversion meets legal requirements.
Frequently Asked Questions
Can I Convert My Loft While Keeping Existing Storage Space?
Yes, you can preserve existing storage, but you’ll need careful Storage preservation and Structural considerations. Consult building regulations, maintain safe access, verify floor loading, protect insulation, and obtain approval before altering your loft space.
How Long Does a Typical Loft Conversion Take From Start to Finish?
You’ll typically complete a loft conversion in eight to twelve weeks—seemingly overnight. Allow extra time for approvals, structural work, ventilation improvements, insulation upgrades, inspections, and unforeseen delays; verify compliance before occupying the space.
Will a Loft Conversion Increase My Home’s Resale Value?
Yes, your loft conversion can increase resale value if you maximise usable space, satisfy Building regulations, secure certification, and protect Exterior aesthetics. You’ll attract buyers more effectively when workmanship, insulation, access, and finishes meet expectations.
Can I Live at Home During the Loft Conversion?
Yes, you can usually remain home, but expect noise, dust, restricted access, and temporary service interruptions. Confirm safe separation, fire precautions, Loft insulation, and a compliant Ventilation system with your contractor before work begins.
What Maintenance Does a Converted Loft Require Over Time?
You’ll need regular inspections, ventilation maintenance, insulation upkeep, and checks for leaks, condensation, cracks, and timber pests. Test smoke alarms, service heating, clear gutters, and maintain fire-safety measures, documenting work to preserve compliance.
Conclusion
Converting your loft into habitable space can add valuable room, but it isn’t a weekend adventure in the clouds. Check the structure, permissions, access, insulation, ventilation, fire safety, and services before you begin. Build to approved standards, document each stage, and use qualified professionals where required. Before you move in, arrange every necessary inspection and certification. If you follow these steps carefully, you’ll create a safe, compliant, comfortable space that’s ready for everyday life.