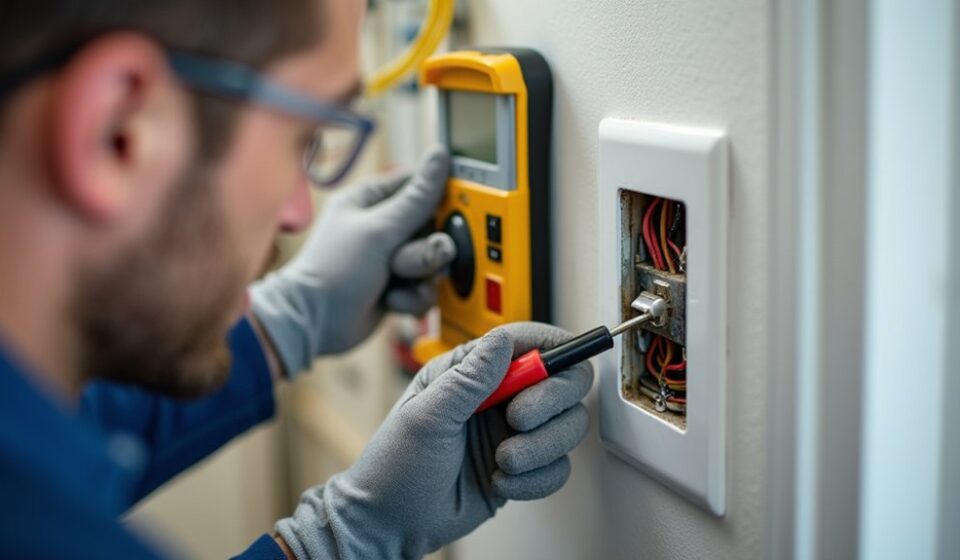

Replacing an old light switch isn’t difficult, but you must treat the wiring as live until you’ve proved otherwise. Gather the right tools, isolate the circuit at the breaker, and use a reliable voltage tester before touching any conductors. You’ll also need to identify each wire and follow local electrical regulations, especially for earthing and newer switch types. Before you remove the old switch, take a clear photo—one detail could determine whether the new installation works safely.
Key Takeaways
- Gather insulated tools, a compatible replacement switch, labels, and a reliable two-pole voltage tester.
- Turn off the correct breaker, post a warning, and verify every conductor is de-energized before touching wiring.
- Photograph and label existing connections, then inspect wires for damage, overheating, or inadequate length.
- Connect each conductor to the matching terminal, fully enclose copper, connect earth correctly, and avoid overtightening screws.
- Reassemble the switch, restore power, test operation, and stop immediately if faults persist or wiring appears unsafe.
Gather Tools and Switch-Safety Essentials
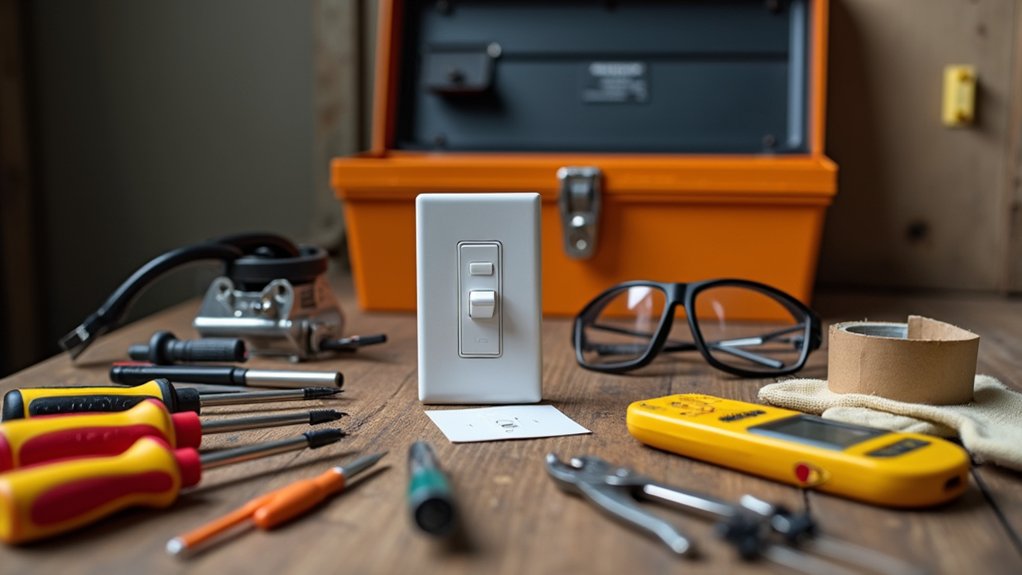
Before you remove the old switch, gather a voltage tester, insulated screwdrivers, wire strippers, needle-nose pliers, electrical tape, wire connectors, and the correctly rated replacement switch.
Choose tools with intact insulation and confirm the switch’s voltage, amperage, circuit type, and terminal arrangement match your installation.
Check switch compatibility with the box, wiring method, and load, including dimmer, timer, or smart-switch requirements.
Review local electrical rules and the manufacturer’s instructions; some installations require a qualified electrician or an approved neutral connection.
Note wire color coding, but don’t rely on color alone, since older or altered wiring may differ from current conventions.
Prepare a flashlight, labels, and a camera so you can document existing connections later.
Keep the work area dry, clear, and well lit, and use only listed, undamaged components.
Turn Off Power and Test the Wiring
With your tools and replacement switch ready, switch off the circuit at the breaker or fuse box—not just at the wall switch. If you’re unsure which Circuit breaker controls the light, turn off the main supply or seek a qualified electrician.
Place a warning note on the consumer unit so nobody restores power accidentally.
Verify isolation with a dependable, two-pole voltage tester, checking it on a known live source before and after testing the switch box. Test every conductor, including neutral and earth, because wiring may share circuits or contain faults.
Don’t rely on a non-contact pen alone. Treat the Wiring color as guidance only: older installations and local regulations may use different conventions.
Stop if readings persist, the installation lacks earthing, or cables appear damaged. Follow current electrical regulations and your tester’s instructions throughout.
Remove the Old Switch and Fit the New One
Once you’ve confirmed the circuit is dead, remove the switch plate and gently pull the switch forward without straining the cables. Photograph the connections, then label each conductor before disconnecting it. Don’t rely on wire color alone, especially in older installations; identify the permanent live, switched live, neutral, and earth according to current wiring conventions and local regulations.
Loosen terminals carefully and inspect the cable ends for damage, overheating, or insufficient length. Choose a compatible replacement, checking whether you need a one-way, two-way, intermediate, or dimmer switch.
Transfer each conductor to the matching terminal, ensuring the copper is fully enclosed and no insulation sits under the clamp. Connect the protective earth as required, fold the wires neatly into the box, and secure the switch and plate without overtightening.
Restore Power and Troubleshoot Common Problems
After refitting the faceplate, make sure the switch is fully assembled and everyone is clear of the work area before restoring power at the consumer unit. Turn on the circuit and test the light from each switch position. If it doesn’t work, switch off the supply again and prove it’s dead before touching anything.
Check for a loose terminal, an incorrectly identified common wire, or a conductor trapped outside its terminal. Don’t repeatedly reset a tripping breaker; disconnect the circuit and investigate possible short circuits or damaged insulation.
For electrical safety, follow current wiring regulations and use suitable test equipment, not guesswork. These troubleshooting techniques can identify simple faults, but stop immediately if wires are scorched, the circuit remains unsafe, or you’re uncertain.
Call a qualified electrician for inspection and repair.
Frequently Asked Questions
How Often Should Light Switches Be Replaced?
You don’t need to replace light switches on a fixed schedule. Replace them when they crack, spark, feel hot, buzz, or fail. Arrange Safety inspections and Wiring upgrades during renovations, following local regulations and hiring a qualified electrician.
Can Smart Switches Work Without a Neutral Wire?
Yes, some smart switches work without a neutral wire, but Smart switch compatibility varies. Check Neutral wire necessity, minimum-load requirements, and local regulations. Turn off power, verify isolation, and hire a qualified electrician if uncertain.
Which Switch Styles Best Suit Different Room Designs?
Choose styles that echo your room’s character: slim metal suits modern spaces, while traditional plates complement period décor. Match switch material and switch color to finishes. You’ll need to follow local regulations and isolate power safely.
Are Dimmer Switches Compatible With Every Type of Bulb?
No, dimmers aren’t compatible with every bulb. Check bulb compatibility and switch types: choose dimmable LEDs, CFLs, or incandescent bulbs, verify load ratings, and follow manufacturer instructions and local electrical regulations before installation or replacement.
When Should You Hire a Licensed Electrician?
Hire a licensed electrician when wiring seems damaged, circuits lack grounding, regulations require certification, or you’re uncertain. For Electrical safety, avoid risky DIY installation; professionals handle complex connections, testing, permits, and compliance with local codes.
Conclusion
Replacing a light switch safely isn’t a race—it’s a careful handover of control. With the breaker off, the circuit tested dead, and each wire identified, you can work confidently rather than gamble with live current. Secure every terminal, connect the earth conductor as required, and follow the manufacturer’s instructions and local regulations. Once the faceplate is fitted, restore power and test the switch. If anything seems unclear, stop and call a qualified electrician; safety should always be your brightest connection.