


An abandoned rural workshop doesn’t have to remain a costly liability; with careful planning, you can turn it into a safe, comfortable home. Start by checking its structural condition, zoning status, permits, and utility requirements before spending on finishes. Then set a realistic budget, remove hazards, repair the shell, and plan insulation, ventilation, plumbing, heating, and electricity. You can preserve useful character while meeting current standards—but one overlooked issue could undermine the entire project.
Key Takeaways
- Have qualified professionals assess structural integrity, zoning, permits, occupancy requirements, utilities, fire safety, insulation, ventilation, and emergency egress.
- Establish a realistic budget with permits, inspections, labor, materials, furnishings, and a 10–20% contingency before beginning work.
- Clear hazardous materials safely, using licensed removal for asbestos, lead, chemicals, gas cylinders, contaminated waste, and unsafe electrical equipment.
- Repair water intrusion, roof damage, rot, pests, foundations, walls, floors, and drainage before installing finishes or concealing structural problems.
- Plan code-compliant plumbing, electrical, heating, insulation, ventilation, alarms, exits, and efficient interior layouts before closing walls.
Check the Workshop’s Structure and Legal Status

Before planning finishes or interiors begin, have a qualified professional inspect the workshop’s foundation, framing, roof, moisture control, electrical system, plumbing, and access. This structural assessment can reveal unsafe loads, rot, settlement, drainage failures, or costly repairs before you commit to conversion work.
Ask your local building department whether the property can legally change from agricultural or workshop use to a dwelling. Confirm zoning, permits, occupancy rules, fire separation, insulation, ventilation, emergency egress, septic capacity, water supply, and utility requirements.
Check title records for easements, restrictions, and unapproved additions. Request written estimates for required corrections, and document existing conditions with photographs.
Don’t start demolition until officials confirm the approval path. Early legal compliance checks protect your investment and prevent fines, delays, or forced removal of completed work.
Plan the Living Area Around Your Budget
Once the structure and approval path are clear, set a firm conversion budget that includes design fees, permits, inspections, utility upgrades, materials, labor, furnishings, and a contingency of at least 10–20%. Separate essential compliance work from upgrades you can postpone, then request comparable quotes from licensed contractors. Check local rules before choosing layouts, windows, plumbing, electrical capacity, or heating systems; inexpensive changes may still require approvals.
- Prioritize weatherproofing, safe access, insulation, and code-compliant utilities.
- Use cost-effective design choices, such as durable finishes, standard fixtures, and efficient lighting.
- Apply space optimization with built-in storage, multifunctional furniture, and defined activity zones.
Price each room before committing, and track allowances against actual bids. Preserve funds for permit revisions or unexpected structural requirements. If costs exceed your limit, reduce floor area or phase nonessential furnishing rather than cutting safety, accessibility, or inspection-related work.
Revisit the plan after every quote so your living area remains affordable and lawful.
Clear Out Tools, Waste, and Hidden Hazards
With the budget and approval requirements established, clear the workshop completely before planning construction.
Wear gloves, eye protection, sturdy footwear, and a properly rated respirator when conditions require one.
Don’t disturb suspected asbestos, lead paint, chemicals, fuel, pesticides, or unknown containers; isolate them and contact your local hazardous-waste authority for disposal instructions.
Arrange licensed removal for damaged electrical equipment, gas cylinders, and contaminated materials.
Separate reusable tools, scrap metal, recyclable packaging, and general rubbish, checking local rules before using dumpsters or burning anything.
Photograph valuable items, then use labeled bins and shelves for tool organization, keeping walkways and exits unobstructed.
Remove rodent nests, droppings, sharp debris, and spilled substances through careful hazard removal.
Shut off utilities only through qualified professionals, and document discoveries for inspections, insurance, and later budgeting.
Repair the Roof, Walls, Floors, and Foundation
After the workshop is empty, inspect the roof, walls, floors, and foundation for water intrusion, structural movement, rot, mold, cracking, and pest damage. Photograph defects and consult a licensed engineer when loads, settlement, or major framing are uncertain. Check local permits before structural work.
- Prioritize Roof reinforcement: replace damaged rafters, decking, flashing, and coverings, then verify safe drainage.
- Complete Wall restoration by removing unsound masonry or siding, repairing framing, and sealing openings against weather and pests.
- Stabilize floors and foundation: repair joists, replace rotten boards, address settlement, and correct moisture sources before finishing.
Use compatible materials and preserve historic features where regulations require it. Don’t conceal mold or structural damage behind new surfaces. Get competitive quotes, but don’t cut costs on engineering, temporary shoring, or inspections. Keep receipts, permits, and repair photos for future approvals and insurance.
Add Insulation, Ventilation, and Natural Light

Sound repairs should come before you improve the workshop’s comfort and daylight. Seal gaps around repaired walls and floors, then choose insulation that suits your climate, moisture conditions, and local energy code.
Install a continuous air barrier, but don’t trap dampness against masonry; ask your building office about vapor-control requirements. Add roof or wall ventilation where the design permits, using screened openings to deter pests and weather.
Plan window placement for balanced daylight, privacy, and summer shading. Reuse sound windows only if they meet safety, escape, and efficiency rules. Consider clerestory windows or rooflights where wall openings aren’t practical, but flash them carefully to prevent leaks.
Solar lighting can brighten dark corners without major alterations, though you’ll still need compliant emergency egress and ventilation. Check permits before enclosing walls or changing openings.
Install Safe Plumbing, Heating, and Electricity
Plan plumbing, heating, and electrical work before closing the walls, because each system may require permits, inspections, and coordinated routes. Hire licensed professionals where local rules require them, and confirm insurance coverage before work begins.
- Connect drainage systems to an approved septic or municipal line; include accessible cleanouts, shutoff valves, and freeze protection.
- Choose a properly sized heat pump, boiler, or wood stove, then provide required clearances, ventilation, carbon-monoxide alarms, and chimney inspections.
- Protect electrical safety with a permitted service upgrade, grounded circuits, GFCI/AFCI protection, labeled panels, and weatherproof exterior outlets.
Keep pipes and cables accessible when possible, and photograph concealed work for future repairs. Don’t bury unapproved connections or reuse damaged wiring.
Obtain rough-in and final inspections before covering walls, and test water pressure, heating controls, smoke alarms, and every outlet before occupancy.
Budget for trenching, utility fees, and professional corrections.
Divide the Workshop Into Functional Living Zones
Before framing partitions, map the workshop into zones for sleeping, cooking, bathing, storage, and mechanical equipment, while preserving required clearances, emergency egress, ventilation, and accessible paths.
Measure doors, windows, ceiling heights, and utility runs before committing to a layout.
Group wet areas near existing plumbing to reduce pipe extensions, and keep electrical panels, heaters, and fuel equipment accessible for inspection and service.
Use inexpensive, reversible dividers—such as framed half-walls, pocket doors, or built-in shelving—where full partitions would consume valuable floor area.
Place the kitchen near natural light and locate the bathroom where privacy and drainage work best.
Define a creative zone for work or hobbies, then add a relaxation corner away from machinery and traffic.
Check local occupancy, fire-separation, insulation, and accessibility requirements before construction, and document clearances for approval.
Preserve Rustic Character With Durable Finishes
Keep the workshop’s character by exposing sound beams, masonry, or original cladding, but stabilize and clean each surface before finishing.
Preserve rustic charm without sacrificing safety or maintenance. Choose durable finishes suited to moisture, traffic, and local fire requirements:
- Seal timber with a low-VOC, fire-rated product where regulations require it.
- Repoint masonry with compatible mortar, then apply breathable mineral paint.
- Protect floors with hard-wearing oil, porcelain tile, or sealed concrete.
Don’t cover defects with cosmetic coatings; replace rotten wood and repair failing joints first. Match new materials subtly, rather than creating a false historic appearance.
Use reclaimed boards only after checking for pests, contaminants, and unsafe treatments. Ask your building authority whether exposed structure needs a specified rating or protective lining.
Buy samples before committing, and calculate whole-life cost: a slightly higher-quality coating may outlast repeated budget applications and preserve the workshop’s character.
Complete Inspections Before Moving In
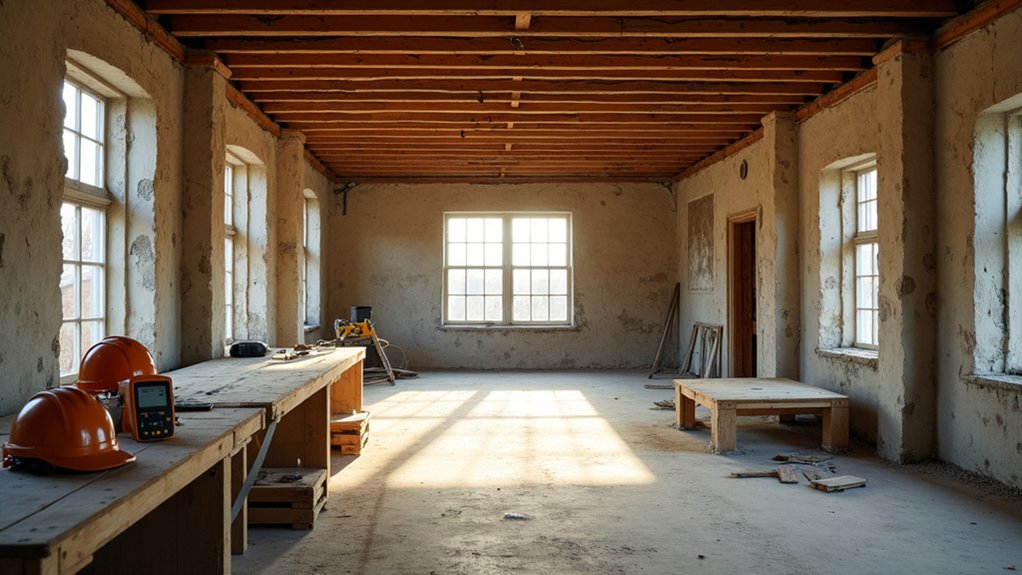
Once finishes are complete, arrange the required inspections before moving furniture or occupying the space. Contact your building department to confirm final inspections for structural work, electrical systems, plumbing, insulation, and fire safety.
If you added a wood stove, gas appliance, septic system, or well, schedule the relevant specialist checks and obtain written approvals. Don’t rely on informal advice; unresolved violations can delay occupancy, complicate insurance, or force expensive reopening of finished walls.
Keep permits, inspection reports, warranties, and contractor invoices together for future repairs and resale. Ask inspectors to identify practical corrections, then address them promptly and document completion.
Coordinate Historical preservation requirements with officials before making aesthetic enhancements, especially where the workshop’s character or protected materials remain.
Verify smoke and carbon-monoxide alarms, emergency exits, railings, and address visibility before you move in.
Frequently Asked Questions
Can I Legally Use the Renovated Workshop as a Permanent Residence?
You can legally live there permanently only if local zoning regulations allow residential use and you obtain required building permits. Confirm sanitation, safety, occupancy, and utility standards with your planning department before spending renovation money.
How Long Does Converting an Abandoned Workshop Into Living Space Typically Take?
You’ll typically need three to twelve months—an eternity if permits, structural repairs, or utility upgrades stall you. Plan storage solutions and insulation techniques early, verify codes, budget contingencies, and schedule inspections before finishing work.
Should I Hire an Architect or General Contractor for the Renovation?
Hire a general contractor for straightforward work; choose an architect if structural changes, permits, or code compliance complicate plans. You’ll benefit from coordinated Interior design and Material selection, while comparing licenses, references, insurance, and fees.
What Insurance Coverage Is Needed During and After the Conversion?
Insurance requirements vary, but an ounce of prevention saves dollars: secure builders-risk coverage during construction, liability and workers’ compensation through contractors, then homeowners coverage afterward. Compare coverage options, disclose occupancy changes, and verify local regulations.
How Can I Finance a Rural Workshop Renovation Project?
You can combine Financing options—renovation loans, rural development programs, credit unions, and savings—with grant opportunities. Compare rates, verify eligibility, budget contingencies, and confirm lenders approve conversion, permits, inspections, insurance, and occupancy requirements before borrowing.
Conclusion
Renovating an abandoned workshop can turn neglected space into a comfortable home, but you shouldn’t rush the process. Confirm permissions, control costs, remove hazards, and address structural problems before installing services or finishes. Insulate thoughtfully, create practical zones, and preserve useful original features with durable materials. Complete every inspection and safety check before moving in. With careful planning, your workshop can become as welcoming as a well-worn country chair—safe, functional, and full of character.


