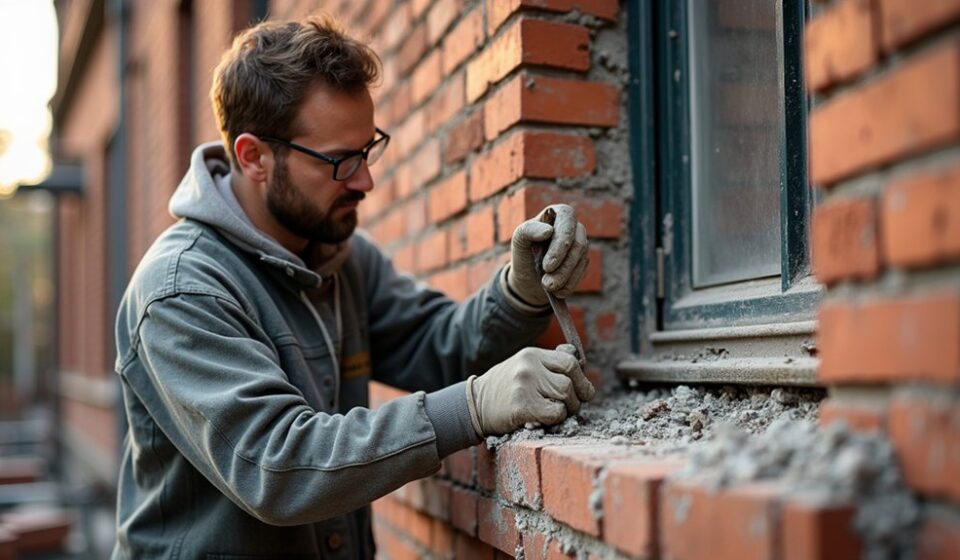

You may not realize that the wrong mortar can damage historic brick faster than weathering, so start by inspecting every wall, joint, and decorative feature before removing anything. Photograph cracks, measure movement, and trace water entry or structural problems to their source. Then match replacement bricks, stone, and mortar by color, texture, strength, and age, using compatible lime-based mortar where appropriate. Careful preparation, gentle cleaning, precise repairs, and preventive maintenance will determine whether the restoration lasts.
Key Takeaways
- Inspect and document cracked, spalled, displaced, stained, or missing bricks, deteriorated joints, bulging walls, and sagging lintels.
- Identify and correct water sources, including faulty gutters, flashing, parapets, roof intersections, and drainage before sealing masonry.
- Match replacement bricks and breathable mortar by color, strength, permeability, joint profile, and compatibility with the existing construction.
- Carefully replace damaged bricks and repoint sound joints, avoiding aggressive grinding, vibration, pressure washing, harsh acids, and rigid materials.
- Protect repairs while curing, verify seamless integration, and maintain masonry through seasonal inspections, drainage upkeep, vegetation control, and timely repairs.
Inspect Exterior Brickwork and Masonry Damage

Before repairing exterior brickwork, inspect the masonry systematically to identify the damage’s type, location, and likely cause. Walk around the building and record cracked, spalled, displaced, stained, or missing bricks.
Check mortar joints for erosion, open gaps, powdering, and incompatible hard patches. Use photographs, measurements, and marked elevation drawings to document each defect before removing material.
Tap suspect bricks lightly with a mallet; a dull sound may indicate internal failure, while loose units require careful support during later work. Compare damaged areas with sound masonry to distinguish surface wear from deeper deterioration.
Note brick size, color, bond pattern, mortar profile, and tooling, especially on older structures. This information supports Historical preservation, guides accurate repairs, and improves Aesthetic enhancement without erasing original character.
Don’t clean aggressively before documenting the evidence.
Find the Source of Water and Structural Problems
Trace water and structural problems to their source rather than repairing only the visible damage. Follow stains, efflorescence, cracked joints, and spalling to determine whether leaking gutters, blocked downspouts, failed flashing, rising damp, or poor grading is directing moisture into the wall.
Check parapets, window openings, roof intersections, and penetrations for gaps that allow water intrusion. Don’t seal symptoms before correcting drainage; trapped moisture can worsen freeze-thaw damage and accelerate decay.
For structural assessment, inspect stepped cracks, bulging walls, displaced masonry, sagging lintels, and widening joints. Compare cracks over time with dated photographs or telltales, and check whether movement affects adjacent walls or openings.
If you find instability, unsafe access conditions, or significant displacement, stop work and consult a qualified masonry engineer. Document every source and repair cause first.
Choose Matching Bricks, Stone, and Mortar
Match replacement bricks to the existing color, texture, size, and weathering so repairs blend naturally. You’ll also need mortar with compatible strength, color, joint profile, and permeability to prevent cracking or moisture damage.
Test samples in place before committing to the full repair.
Match Brick Color
Accurate color matching starts with comparing the existing brick, stone, and mortar in natural daylight, since weathering and shade can make materials look different indoors.
Clean a small area gently before judging its true tone, but don’t erase character that comes from age.
Compare samples beside several courses, because color consistency often varies across the wall.
Check the face, edges, and exposed aggregate; these details affect how repairs read from a distance.
Ask your supplier for multiple brick or stone samples, then view them in morning, midday, and afternoon light.
For mortar joints, photograph the surface and identify the dominant base color rather than matching one stained spot.
Test pigment matching with small mockups, let them dry fully, and compare again.
Choose the closest blend, not merely the brightest sample.
Select Compatible Mortar
Choose mortar that’s compatible with both the masonry unit and the wall’s age, strength, and exposure. Before repointing, identify the existing mortar’s composition through visual inspection, simple hardness testing, and, when necessary, laboratory analysis.
Don’t default to hard Portland-cement mortar on historic brick or soft stone; excessive strength can trap moisture, accelerate cracking, and damage masonry edges. Match the original binder, aggregate size, color, joint profile, and curing characteristics as closely as practical.
For older buildings, lime-based mortar often accommodates movement and vapor transmission better than modern cement mixes. Test a small sample area first, then assess color, tooling, adhesion, and weathering after curing.
Prioritize historical accuracy, but adapt the mix when exposure, salts, or previous repairs require improved performance. Use clean, compatible materials, and document your selected formula for future maintenance.
Prepare Damaged Masonry for Repair
Before repairing damaged masonry, you’ll assess cracks, loose units, water damage, and signs of structural movement.
Remove dust, deteriorated mortar, paint, and biological growth, then clean the exposed surfaces without damaging sound brick or stone.
Stabilize loose sections and let the masonry dry fully so the new repair bonds securely.
Assess Masonry Damage
Start by evaluating the masonry’s condition, not just its appearance. Inspect every elevation for cracked, spalled, displaced, or bulging bricks, open joints, failed lintels, and separated walls. Trace cracks to determine whether they’re structural, movement-related, or limited to individual units.
Check for loose masonry by documenting locations and severity, but don’t disturb unstable areas. Compare affected sections with sound, original work to identify inappropriate alterations, mismatched repairs, and changes in bond or tooling. Record dimensions, patterns, and photographs, and map findings on elevation drawings.
Note moisture-related staining or biological growth without attempting removal yet; cleaning and stabilization come next. If damage threatens safety, cordon off the area and consult a qualified mason or structural engineer.
Your assessment guides compatible repairs, supports historical preservation, and improves aesthetic enhancement without erasing historic fabric.
Clean and Stabilize Surfaces
Once you’ve documented the damage, clean the masonry gently enough to preserve sound brick, mortar, tooling, and historic finishes. Start with a soft-bristle brush and low-pressure water, working from the top downward. Test a small, inconspicuous area first, then adjust pressure and technique according to the brick’s porosity and surface texture.
Don’t use wire brushes, aggressive grinding, or unapproved acids; they can remove the fired face, widen joints, or trap salts. Let the wall dry fully so you can distinguish staining from active moisture damage.
Consider environmental factors, including rain, freeze-thaw cycles, rising damp, and nearby vegetation, before selecting repairs. Remove loose fragments and powdery mortar with hand tools, then stabilize vulnerable edges with compatible, breathable materials.
Protect cleaned masonry from runoff, frost, and rapid drying until repairs begin.
Replace Cracked Bricks and Broken Masonry
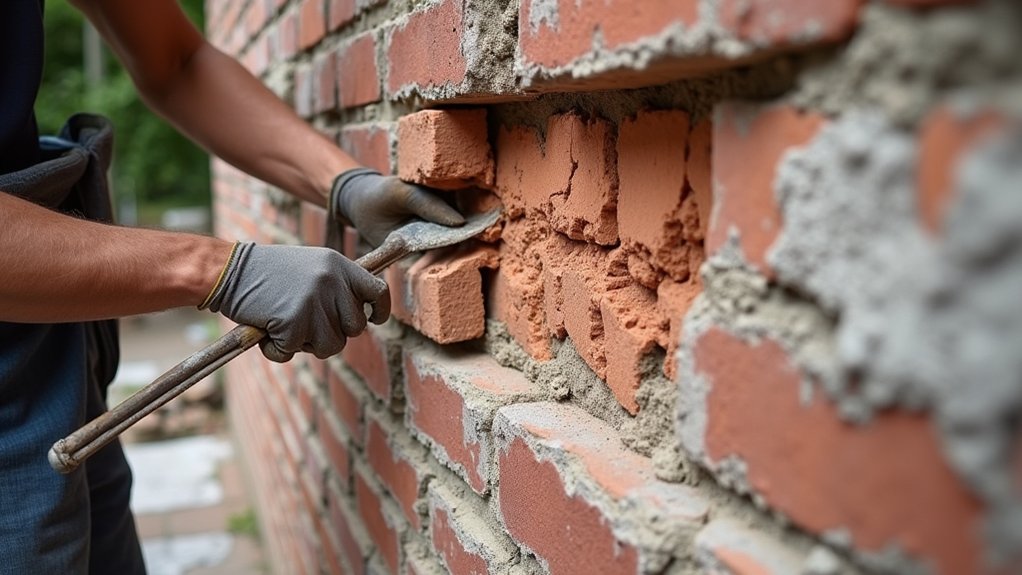
When a brick is cracked through its face, split, loose, or missing, replace it rather than relying on mortar to hold the surrounding wall together. Match the replacement’s size, color, texture, and firing characteristics as closely as possible.
For Historical preservation, salvage sound bricks from concealed areas or source reclaimed units from the same period. Before removal, photograph the wall and mark each brick’s orientation, especially where artistic detailing or unusual bonds matter.
Cut around the damaged unit with a masonry saw, then carefully break it out without disturbing adjacent bricks. Clean debris from the opening, dampen the surfaces, and butter the replacement brick with compatible masonry mortar.
Set it flush with the existing face, check alignment, and remove excess mortar before it hardens. Let the repair cure gradually, protected from frost, rain, and rapid drying.
Repoint Joints Without Damaging Brickwork
Repoint joints only after confirming that the surrounding bricks are sound and the existing mortar is weaker than the brick itself. Rake out loose mortar by hand, limiting depth to about twice the joint’s width. Protect brick arrises with a narrow tool; never grind aggressively, because vibration and dust can scar the face.
- Brush joints gently, revealing clean, stable edges.
- Dampen masonry lightly so fresh mortar cures evenly.
- Press compatible mortar firmly into shallow lifts.
- Strike joints to match the original profile, not a hard, raised ridge.
Use a mortar mix suited to the brick’s age and porosity; overly strong cement can force bricks to crack or spall. Keep mortar off the brick faces, and stop during freezing, hot, or wet conditions.
Address salts with careful Efflorescence removal before repointing. Delay Brick sealing until the new mortar has fully cured.
Clean, Match, and Finish Restored Masonry
After the mortar has cured, clean the restored masonry gently and match any repairs to the surrounding brickwork. Use a soft-bristle brush and clean water to remove dust, smears, and loose residue. Avoid pressure washing, harsh acids, or abrasive tools, which can etch brick faces and expose aggregate.
If stains remain, test a masonry cleaner on an inconspicuous area, follow the label, and rinse thoroughly.
For color consistency, compare repaired areas in dry and damp conditions, since moisture changes brick and mortar tones. Tint compatible mortar or apply a breathable masonry stain sparingly; don’t coat sound brick unnecessarily.
Replace mismatched bricks with salvaged units of similar size, texture, and firing. Recreate decorative accents, such as soldier courses or corbels, using the original profiles and joint dimensions.
Let the finished work dry evenly, then inspect edges, joints, and transitions for visible defects.
Prevent Future Exterior Brickwork Damage
Prevent future exterior brickwork damage by controlling water, the primary cause of failing mortar, cracked bricks, and freeze-thaw deterioration. Inspect masonry each spring and fall, then correct small defects before moisture penetrates deeper.
- Seal cracks in bricks and mortar joints with compatible repair materials, not rigid caulk that traps water.
- Clean gutters and extend downspouts so runoff drains well away from walls and foundations.
- Install barriers, including flashing, drip edges, and properly sealed wall caps, to redirect water from vulnerable joints.
- Trim shrubs and vines near the facade so air circulates and damp surfaces dry quickly.
Maintain sound paint or breathable water-repellent coatings where appropriate, but never seal damp masonry. Check foundation drainage, window sills, and penetrations after heavy rain. Repoint deteriorated joints promptly, and replace severely spalled bricks so isolated damage doesn’t spread.
Schedule professional inspections for historic or extensively repaired walls.
Frequently Asked Questions
How Much Does Exterior Brickwork and Masonry Restoration Typically Cost?
You’ll typically pay $10–$40 per square foot for exterior brickwork and masonry restoration. Cost factors include damage, access, labor, and location; material options, repointing, replacement bricks, cleaning, and sealing affect your final estimate.
Do I Need Planning Permission for Exterior Masonry Repairs?
You usually don’t need planning permission for like-for-like masonry repairs, but check local Building permits requirements first. If your property has Historical significance, lies in a conservation area, or changes appearance, seek approval before work begins.
How Long Does a Complete Brickwork Restoration Project Usually Take?
Most complete brickwork restoration projects take four to twelve weeks. You’ll spend time on surveys, Brick cleaning, repairs, Mortar matching, repointing, curing, and weather delays; larger properties or structural damage extend your timeline considerably.
Can I Repair Historic or Listed Masonry Without Hiring a Specialist?
You can handle minor maintenance, but Historic preservation requires specialist knowledge. Before altering Listed building regulations, contact your conservation officer, obtain necessary consent, and hire qualified professionals for structural repairs, matching materials, or significant masonry work.
What Safety Precautions Should Homeowners Take During Masonry Restoration?
You’ll stay safe by keeping your eyes peeled: wear Protective gear, including hard hats, goggles, gloves, respirators, and sturdy boots; maintain Hazard awareness, secure scaffolding, control dust, isolate utilities, and never work beneath unstable masonry.
Conclusion
With careful inspection, compatible materials, gentle repairs, and precise repointing, you’ll restore exterior brickwork without sacrificing its character. Don’t hide defects with quick fixes; address water intrusion, movement, and poor drainage first. Match every replacement and finish, then inspect your work closely. As the adage goes, “an ounce of prevention is worth a pound of cure.” Schedule regular checks, clear gutters, and repair minor damage promptly. That routine will protect your masonry and extend the renovation’s service life.